Tile & Grout Cleaning Services
Over time, tile surfaces lose their luster and grout lines become discolored from dirt, spills, and everyday wear. At MND Facility, our professional tile and grout cleaning services are designed to revive your floors, walls, and backsplashes—bringing back their original shine and cleanliness.
🧼 Our Process Includes:
- Pre-treatment of Surfaces : Application of eco-friendly degreasers and solutions to loosen dirt, oils, and soap scum.
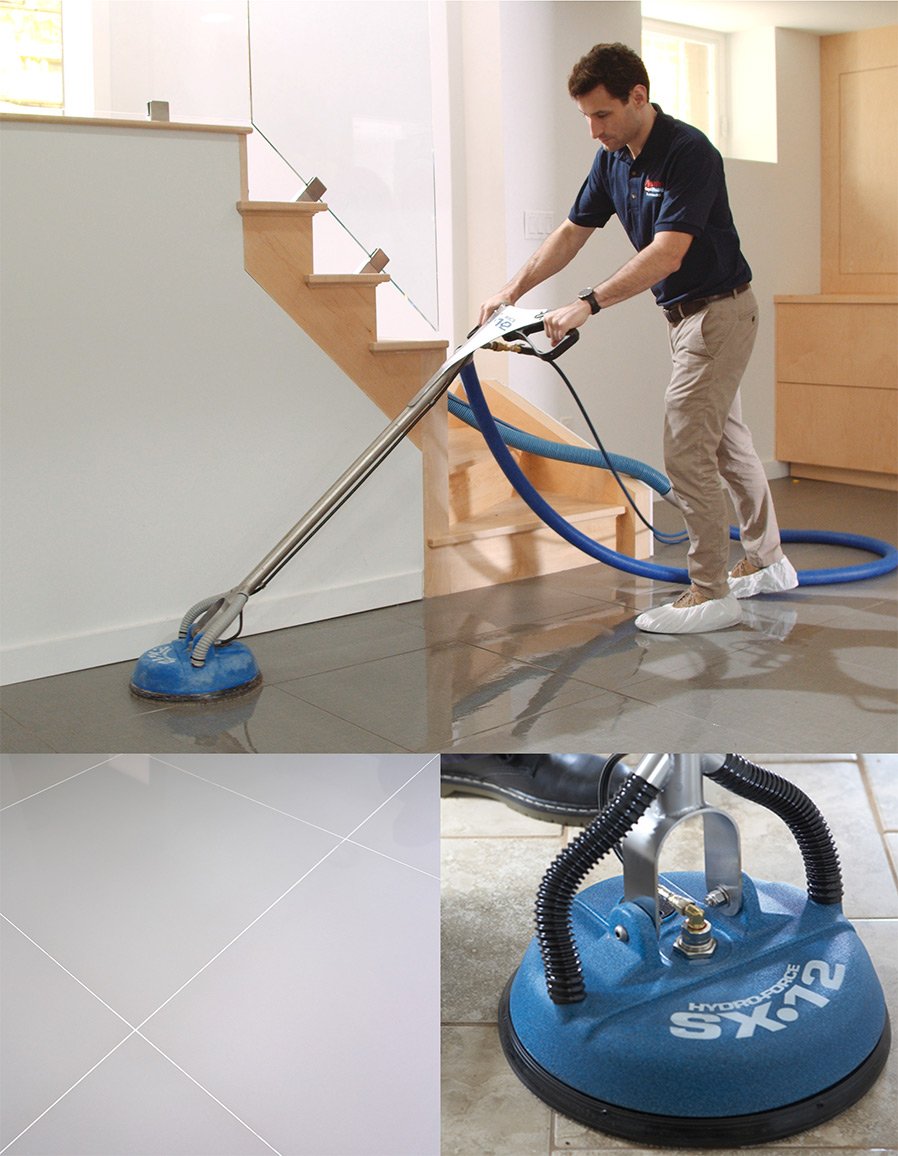
- High-Pressure Steam Cleaning : Use of advanced steam or rotary machines to lift embedded contaminants without damaging tiles or grout.
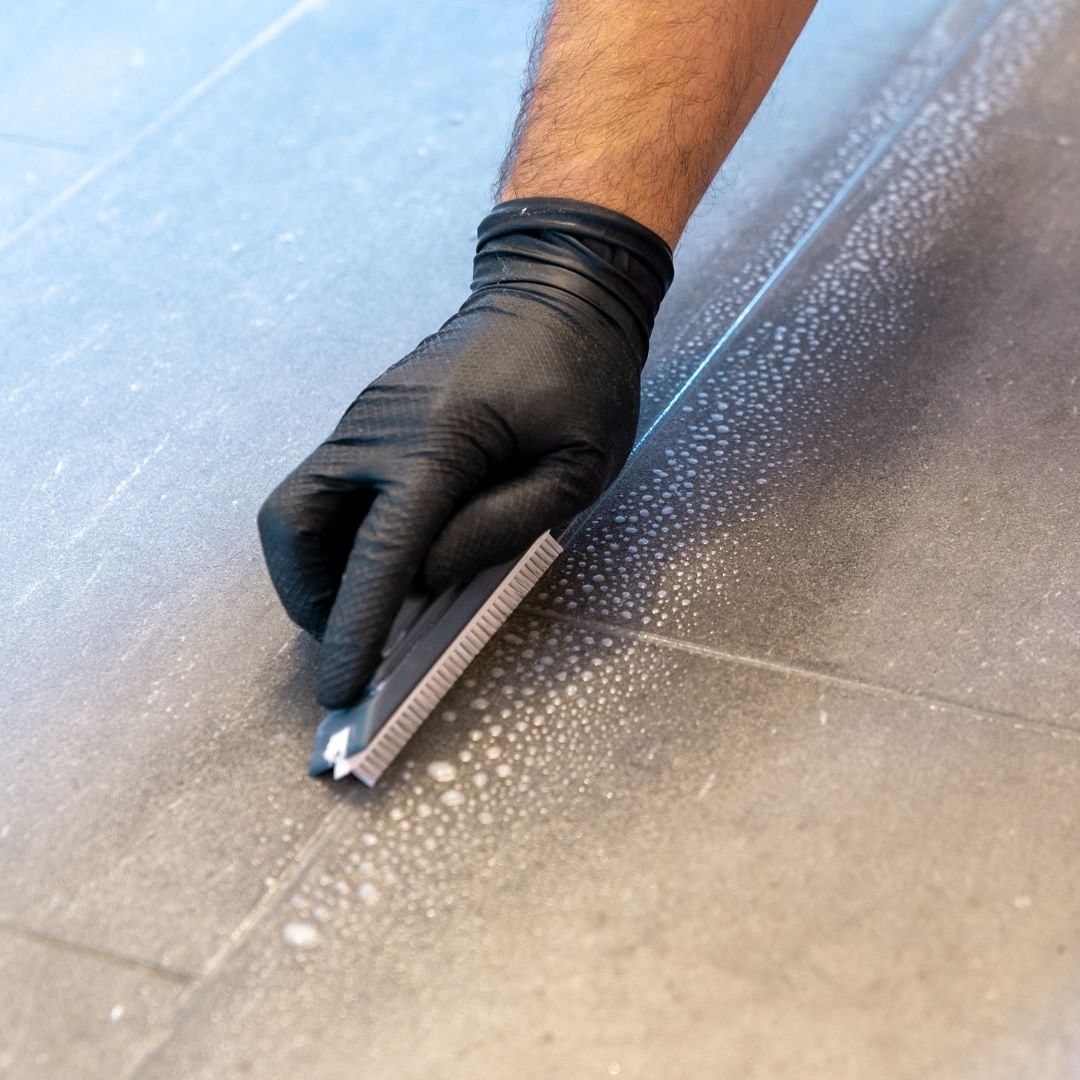
- Grout Line Scrubbing & Restoration : Precision hand or machine scrubbing to brighten grout lines and remove mildew, mold, or dark buildup.
- Optional Grout Sealing : A protective sealant can be applied post-cleaning to resist future staining and prolong the clean finish.
Our Quality Cleaning
Whether in commercial restrooms, kitchens, lobbies, or home interiors, our skilled technicians use high-powered equipment and industry-grade solutions to safely and effectively remove deep-seated grime, bacteria, and stains from porous grout and textured tiles.
Why Choose MND Facility?
- Trained professionals using non-toxic, tile-safe products
- Services for ceramic, porcelain, stone, and more
- Anti-slip treatments available for high-traffic commercial areas
- Flexible scheduling, including after-hours and weekends
- Ideal for offices, restaurants, gyms, medical centers, restrooms, and residential clients
House Services
We give the best Services


1. Clear the Area
- Remove Any Furniture or Objects: If cleaning a floor, move furniture and any other objects away from the area to give yourself space to clean.
- Sweep or Vacuum: Use a broom or vacuum to remove dirt, dust, and debris from the tiles. Be thorough, especially around the edges, where dirt tends to accumulate.
2. Pre-Spray with Tile & Grout Cleaning Chemical
Before applying your cleaning solution, spray a tile and grout cleaner generously over the grout lines and tile surfaces. This pre-spray helps loosen any stubborn dirt, grime, or soap scum, making it easier to scrub and clean effectively. Allow the pre-spray to sit for a few minutes to break down dirt and stains.
3. Prepare the Cleaning Solution
- Store-Bought Cleaner: If you’re using a commercial tile and grout cleaner, follow the instructions on the label.
- Homemade Cleaner: For a natural cleaner, you can mix:
- 1/2 cup of vinegar
- 1/2 cup of baking soda
- 1 cup of warm water This mixture works well for both cleaning the tiles and grout.
4. Apply the Cleaner to the Tiles and Grout
- Spray or Pour the Cleaner: Generously spray or pour the cleaning solution onto the tiles and grout lines. Make sure to cover all grout lines where dirt and mildew accumulate.
- Let it Sit: Allow the cleaner to sit on the grout and tiles for 5-10 minutes. This helps break down grime, stains, and soap scum, making it easier to scrub.
5. Scrub the Grout Lines
- Use a Stiff-Bristled Brush: Use a stiff-bristled brush to scrub the grout lines. Scrub in a circular motion to lift dirt and stains.
- Use a Toothbrush for Small Areas: For tight grout lines or corners, use an old toothbrush to scrub in small sections.
- Focus on Problem Areas: If you have stubborn stains or discoloration, give those areas extra attention. You may need to apply a bit more cleaner or use a steam cleaner for tough spots.
6. Scrub the Tile Surfaces
- Tile Scrubbing: While focusing mostly on the grout lines, you can also scrub the tile surfaces with the same brush. For smooth, non-porous tiles, a soft-bristled brush or sponge works well.
- For Stubborn Stains: If you have stubborn stains on the tile itself (e.g., soap scum), try using a mixture of equal parts vinegar and water or a specialized tile cleaner.
7. Rinse the Area
- Wipe with a Damp Cloth: After scrubbing, wipe down the tiles and grout with a damp microfiber cloth to remove excess cleaner, dirt, and grime.
- Use Clean Water: Rinse your mop or cloth frequently in clean water to prevent spreading dirt back onto the tiles.
8. Dry the Tiles
- Dry with a Microfiber Cloth: Once the tiles are clean and rinsed, dry the surface with a clean microfiber cloth or towel. This helps avoid water spots and streaks, especially on shiny tiles like porcelain or ceramic.
- Ensure the Grout Is Dry: Make sure the grout lines are also dry to prevent mold or mildew from forming.
9. Seal the Grout (Optional but Recommended)
- Apply Grout Sealer: After cleaning and drying the grout, consider applying a grout sealer. This will protect the grout from future stains and make it easier to clean in the future.
- Follow the Manufacturer’s Instructions: If using a commercial sealer, follow the instructions carefully. Usually, it involves applying the sealer to the grout lines with a small applicator or sponge, letting it sit for a few minutes, and then wiping off the excess
Service Overview
Over time, tile surfaces and grout lines accumulate dirt, stains, and bacteria, making them look dull and discolored. Regular mopping may not be enough to remove deep-seated grime. Our professional Tile & Grout Cleaning Services use advanced cleaning techniques to restore the original shine of your tiles and brighten grout lines, leaving your floors and walls spotless and hygienic.

Have you Any Question?